This post is about me taking wireless hardware apart and taking pictures of it. I’m not going to bore you with stories of me as a child taking things apart, because to be quite honest, I wasn’t that kid. I was too busy playing with GI Joe and Star Wars toys to be bothered with the mechanics of how the radio or television worked.
These days, I am fascinated with how software and hardware work. I may not fully understand everything in these pictures shown below, but the more I take things apart, the closer I get to understanding the “how” and the “why” behind each particular product. I should also point out that I will only go so far with my hardware. Every access point I took apart was in working order. I didn’t want to risk damaging any of them so some hardware isn’t going to be as detailed with the pictures as others.
For part 1, I took apart the following:
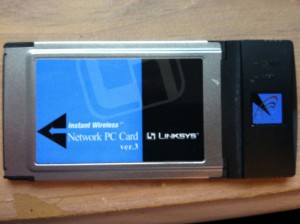
1. An old Linksys 802.11b PCMCIA wireless card.
2. A Ruckus ZoneFlex 7962 access point.
3. A Ruckus ZoneDirector 1100 wireless LAN controller.
4. A Meraki MR16 access point.
5. As a bonus, I have some pics from a Meraki MR24 access point courtesy of my visit to their headquarters in January of this year.
In part 2, I have a few more access points from Aerohive, Aruba, and Cisco.
You can click on any of the images below to get a larger image displayed.
Linksys 802.11b PCMCIA Card
I bought this card back in 2004 and used it for a few years.
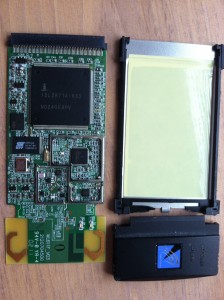
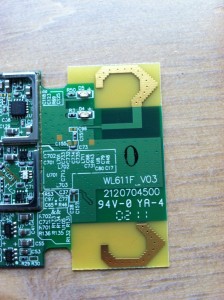
Once you remove the outer casing, you can see the few chips that are connected to the circuit board. The antenna is also visible on the end of the card.
Here’s a closeup shot of the antenna.
Ruckus ZoneFlex 7962 Access Point
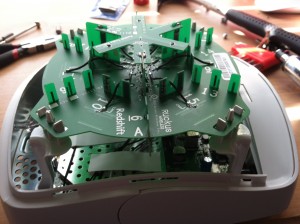
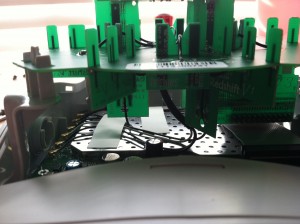
You have to hold this thing in your hands to truly appreciate how big and heavy this AP is. From the top looking down, you can see the antenna array that Ruckus has built. This particular model is a 3×3:2 configuration.
A closer shot of the array.
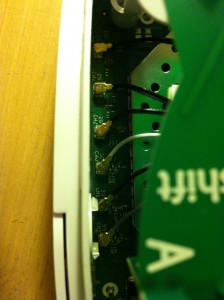
Here is a picture of the connections going back to the radios themselves.
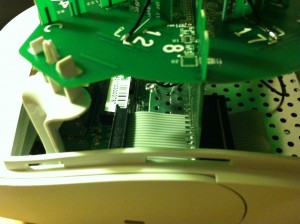
Here is some ribbon cable that connects the antenna array to the AP main circuit board.
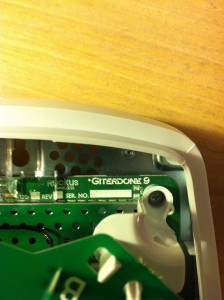
The Chief Wireless Architect and co-founder of Ruckus, Victor Shtrom, has a motto of “Git-Er-Done” according to his bio page on the Ruckus website. Interestingly enough, that logo appears on the AP itself.
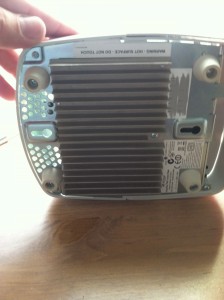
Flip it over, and you can see the massive heat sink on the bottom.
While there were more components underneath the array itself, I didn’t want to disconnect any of the components out of fear of not being able to reassemble it properly.
Ruckus ZoneDirector 1100 WLAN Controller
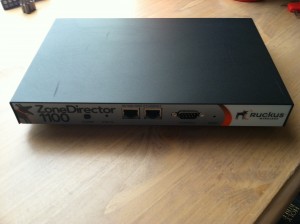
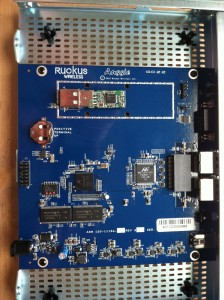
I did manage to completely take apart the controller that manages the AP. The interesting thing about the controller was how little components that were actually inside the box. I expected a lot more stuff to be present on the main circuit board. This particular controller can support up to 50 access points.
Here’s what it looks like assembled.
With the top removed.
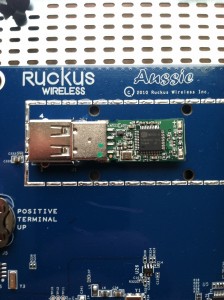
I can only assume that this is flash based storage since it looks like a regular USB interface. The memory portion is glued on to the interface, so I didn’t want to remove it.
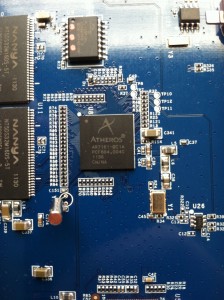
A closeup of the Atheros chip.
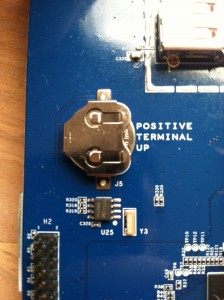
This looks to be a battery.
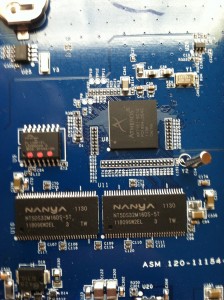
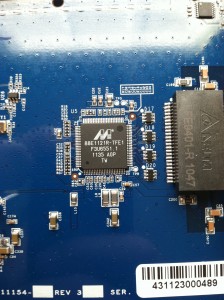
More chips.
Meraki MR-16 Access Point
What struck me the most about the Meraki AP was how light it was. Compared to Aerohive, Aruba, Cisco, HP, Meru, and Ruckus AP’s I have held, it was by far the lightest.
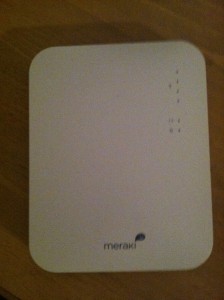
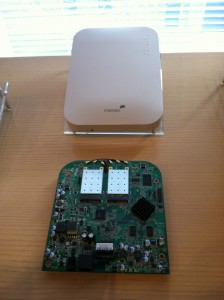
Here’s what it looks like assembled.
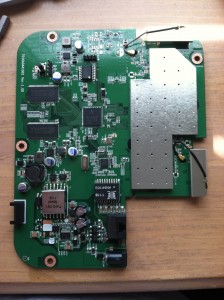
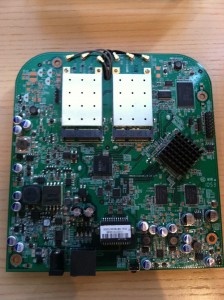
The overall view with the cover off. The long silver metallic piece on the right covers additional chips and/or the actual radios. This was fairly standard in most of the AP’s I took apart. Since this AP is in working condition, I didn’t want to pry off the cover and risk damaging anything. I am not sure why they do this. There might be a legitimate reason behind it, but I haven’t done enough research or talked to enough RF gurus to figure out why.
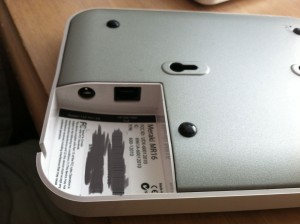
What looks like a missing corner is actually where the power and Ethernet connection are located. It is most likely done to keep the footprint of the AP to a minimum. Here is what it looks like on the underside of the AP.
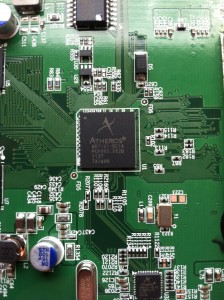
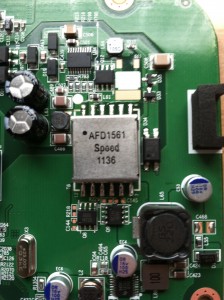
Here is a closeup of the Atheros chip. This seems to be a commonality among a lot of these AP’s, no matter the vendor. Much like Broadcom on the wired side.
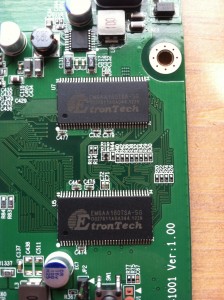
More chips from the MR-16 AP. These particular ones from Etron Technology appear to be SDRAM chips according to this.
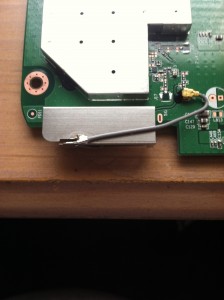
Here’s the top down view of the 5GHz antenna on the MR-16 AP.
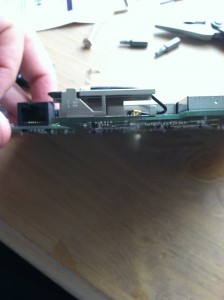
Here is a side view of the 2.4GHz antenna.
Remember those internal antennas. You’ll see very similar ones on the Aerohive and Aruba AP’s in the next segment.
Meraki MR24 Access Point
Although I didn’t take the next AP apart, I managed to snap a few pictures of the Meraki MR-24 AP when I was at their headquarters for the Gestalt IT Wireless Field Day 2 event back in January.
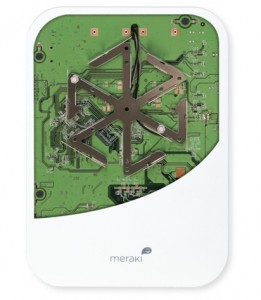
This is Meraki’s top of the line indoor AP featuring dual-radio 3×3:3 capabilities. The pic on the left is one I took. The one on the right showing the antenna layout came from Meraki’s website. That circular pattern of 6 internal antennas is the same one in use by the Aerohive 330AP, and I would guess other similar AP’s.
That’s all for part 1. Part 2 will have pics from 3 other vendors(Aerohive, Aruba, Cisco). Even if you can’t make sense of all the components(I certainly can’t…….yet.), it is still neat to see what is on the inside of things we use on a regular basis and probably take for granted. If you like these kinds of pictures(and who wouldn’t?), check out George Stefanick’s post from 2010 on Cisco wireless products at his site here.
Disclaimer: As a delegate for Gestalt IT’s Wireless Field Day 2, I received the Ruckus ZoneFlex 7962 AP, ZoneDirector 1100 controller, and the Meraki MR16 AP for my own personal use.


Hey Matt,
Great post! The first paragraph made me laugh. I guess I’m in the middle; I was taking apart GI Joe and Star Wars action figure (not dolls!) and trying to out them back together.
@netmanchris
Pingback: Wireless Field Day 2: The Links
Great post, but I have to ask why?
I always wondered what the inside of an AP looked like but never got round to actually stripping one down. Now I dont’ have to
Cheers
Roger @ CCIE Blog
Roger,
I guess I just had to know what was inside. 🙂
Matthew
Pingback: Inside Wireless Hardware – Part 2 | In Search of Tech